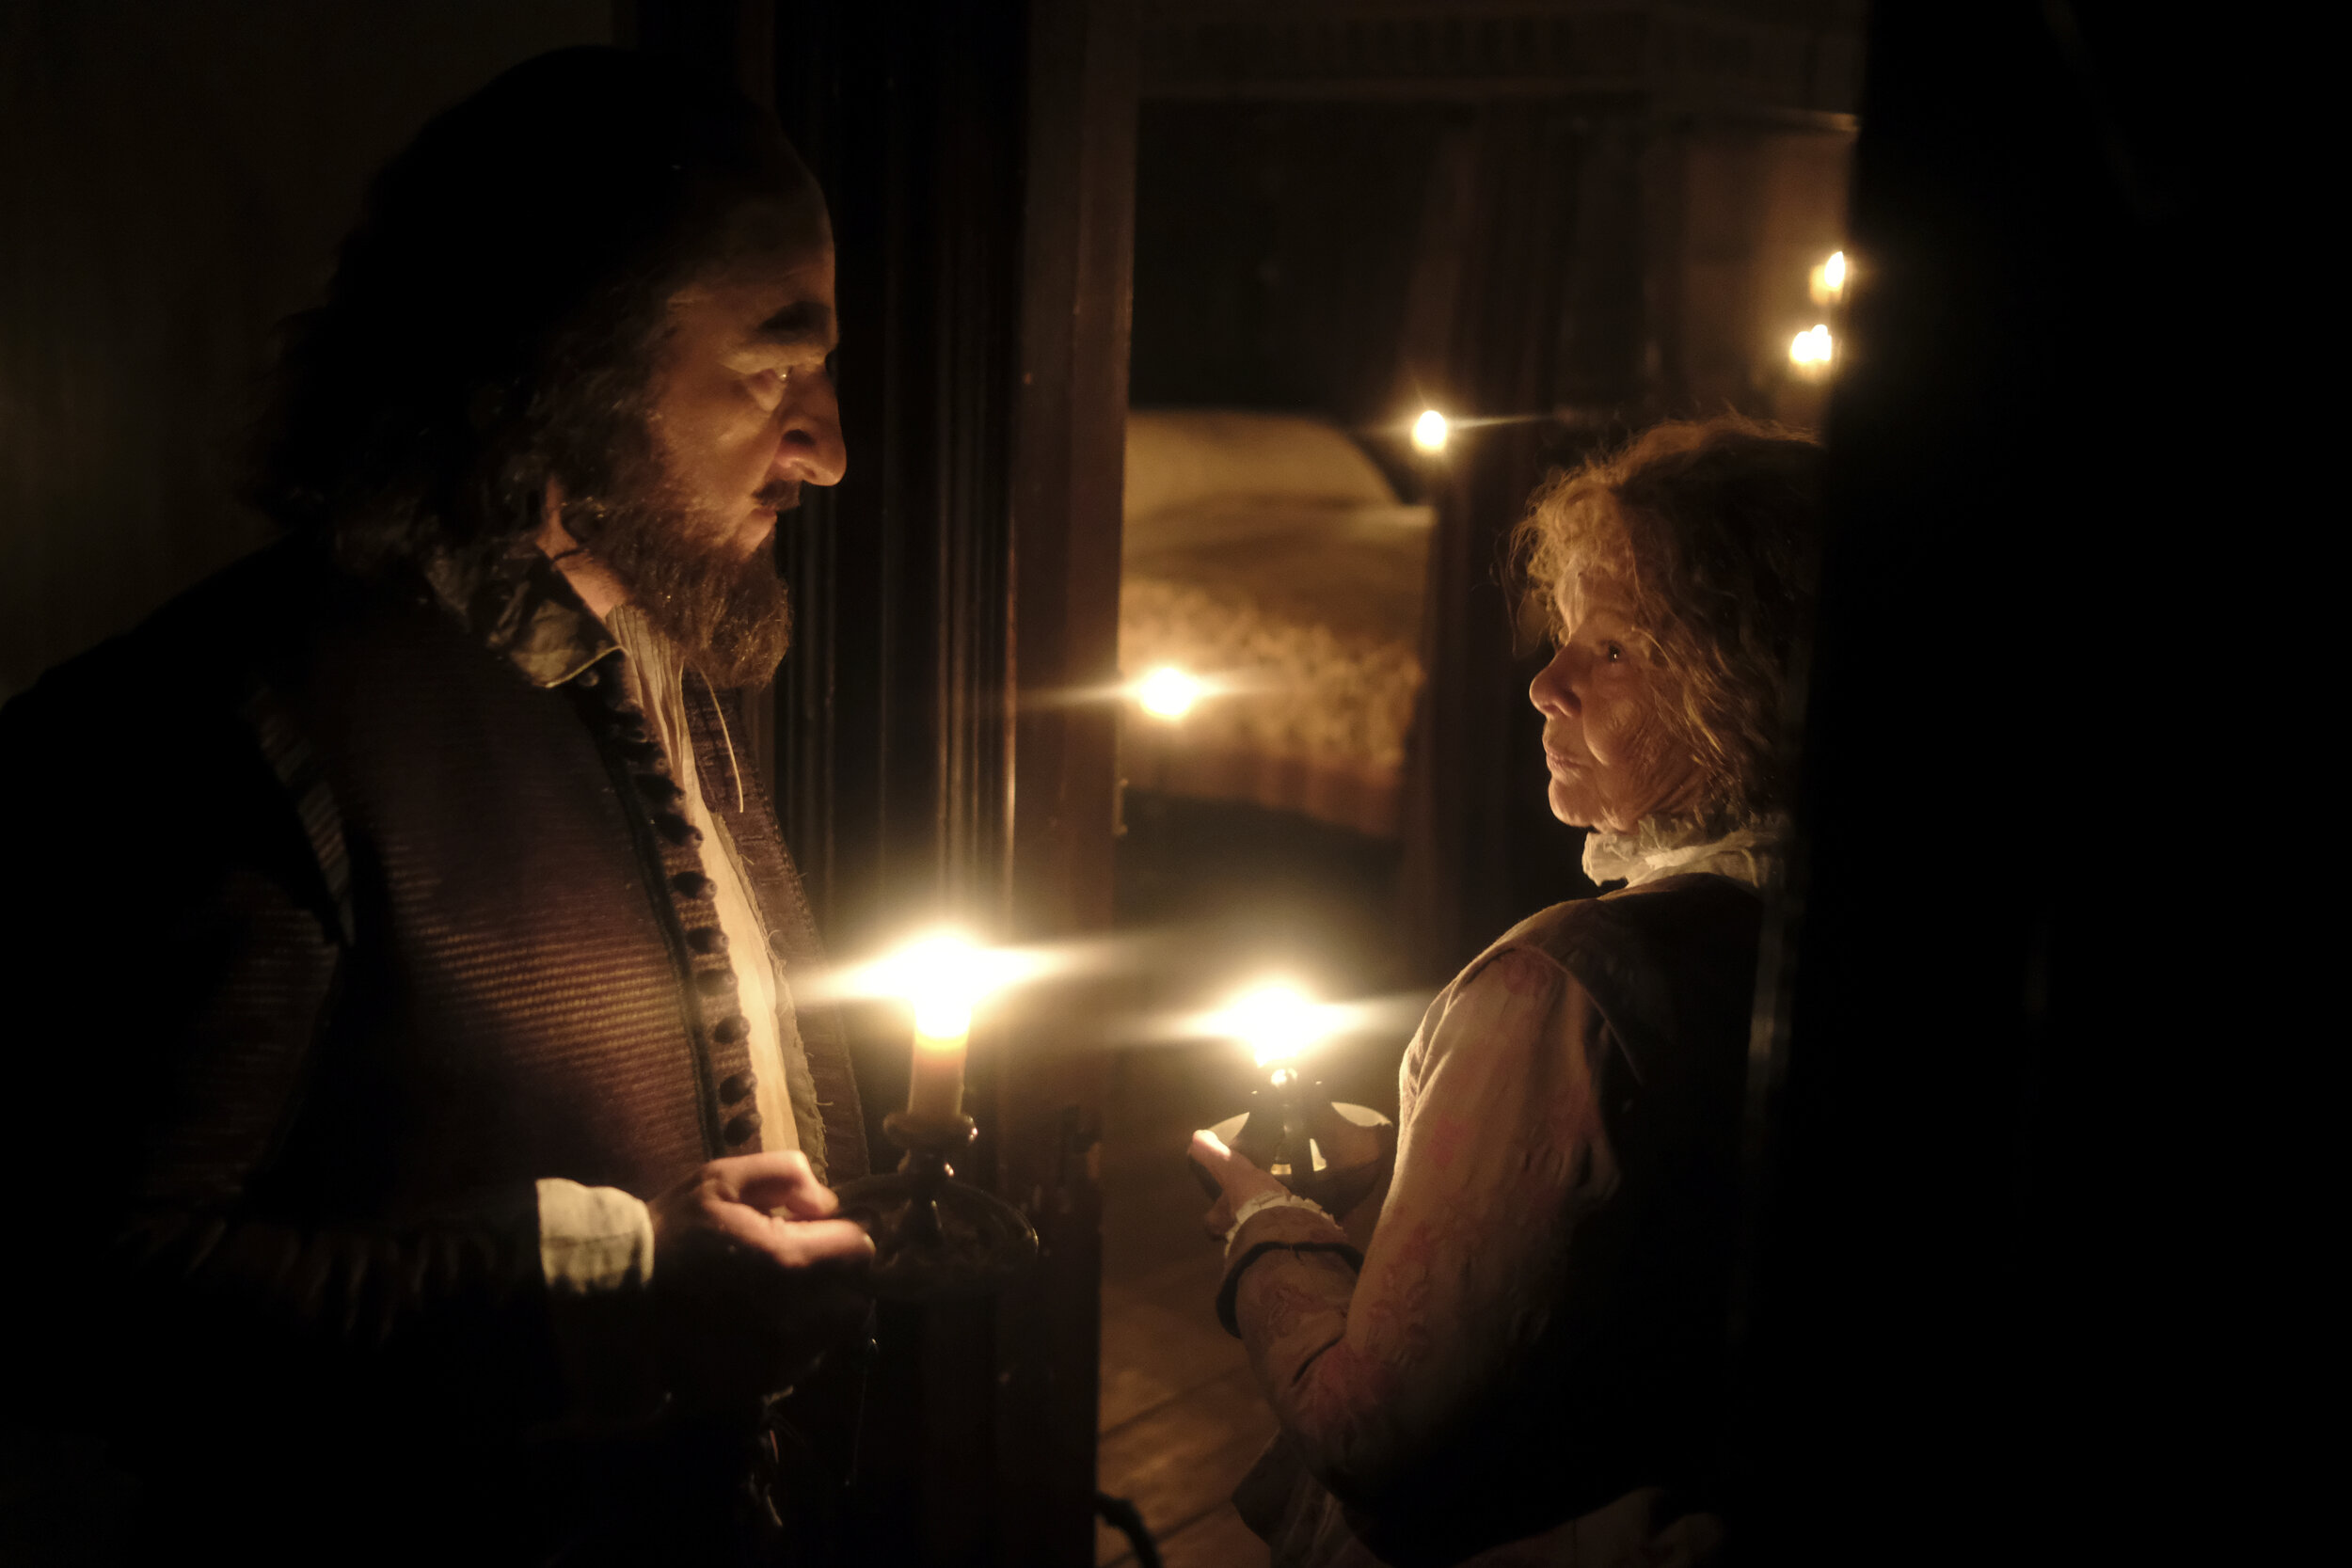
Kenneth Branagh and Judi Dench lit only by candlelight in ‘All Is True’

Low-lit and back-lit image of production designer James Merifield at work on ‘All Is True’

Jack Gordon-Abbott of Band Animal Noise
Whatever capacity you take photos in - professionally or for yourself - you will encounter situations where using a flash isn’t desirable or possible. From concerts and film-sets to indoor sporting events. If you still want to freeze movement and get a strong image, here are some tips on how.
Tip 1. Shoot fast glass
True, it isn't all about the gear. But tip number one is that you don't have to spend a lot of money to get a decent low light lens such as a 50 or 35mm F1.8. When I first started using prime lenses* I was able to get photos I simply couldn't before. It was like someone had turned the lights on! The second hand market has the two most popular focal lengths (50mm and 35mm) in abundance. The widespread popularity of these two focal lengths makes it easy to find a bargain.
*A prime lens has no zoom. The angle of view is fixed. Prime lenses offer better low-light performance due to having fewer glass elements and moving parts than zoom lenses. They can be manufactured to higher tolerances and with larger apertures.
Tip 2. Embrace the motion blur!
The smallest live music venues are often the worst lit. Sometimes the stage is darker than the bar. If the lead singer you are trying to capture is running around the stage like an olympic hurdler, embrace the blur. Use it to communicate the energy of the moment.
To do this, slow down the shutter speed. I shot the image below at around 125th of a second. Slow enough to let in plenty of light but not fast enough to freeze the fast moving guitar.

Chris Turpin of bands Kill It Kid and Ida Mae - Camden.
Tip 3. Push that ISO (ASA)
Embrace the noise, I will often push my cameras ISO to 3200 for colour images or 6400 for black and white images. I find that the noise straight out of camera can look distracting as digital camera noise is uniform (the pixels on the sensor are in perfect lines). When editing I like to add a little random noise to the image. This emulates film grain and counteracts the linear noise. I use Nik Efex SilverEfex Pro for this stage of post production.

Ty Taylor of Vintage Trouble - Image taken at 5400 ISO
Tip 4. Shoot RAW
RAW vs JPEG - Both image formats have benefits and drawbacks. But if shooting in low light, RAW is your friend.
If you set your camera to shoot RAW the files will take up more room on your hard-drive. The upshot of this is that when you move the sliders in your editing software you’ll have more information to alter before losing detail. Especially when lifting shadows or pulling back highlights (very bright areas). The amount of useable data between pure black and pure white in an image is its dynamic range (or latitude). If you want to recover detail from dark parts of your photos then set your camera to RAW and forget about it.
Bonus consideration: Manufacturers find it easier to implement sensor stabilisation into smaller sensors. This technology can help you to shoot slow moving or still subjects in low light. Therefore a micro four thirds or DX crop sensor camera may suit your low light needs (and save you money). Using a tripod will always yield better results than a sensor with vibration reduction but tripods aren’t practical (or permissible) in many situations.
Tip 5. Look for details that add to the story
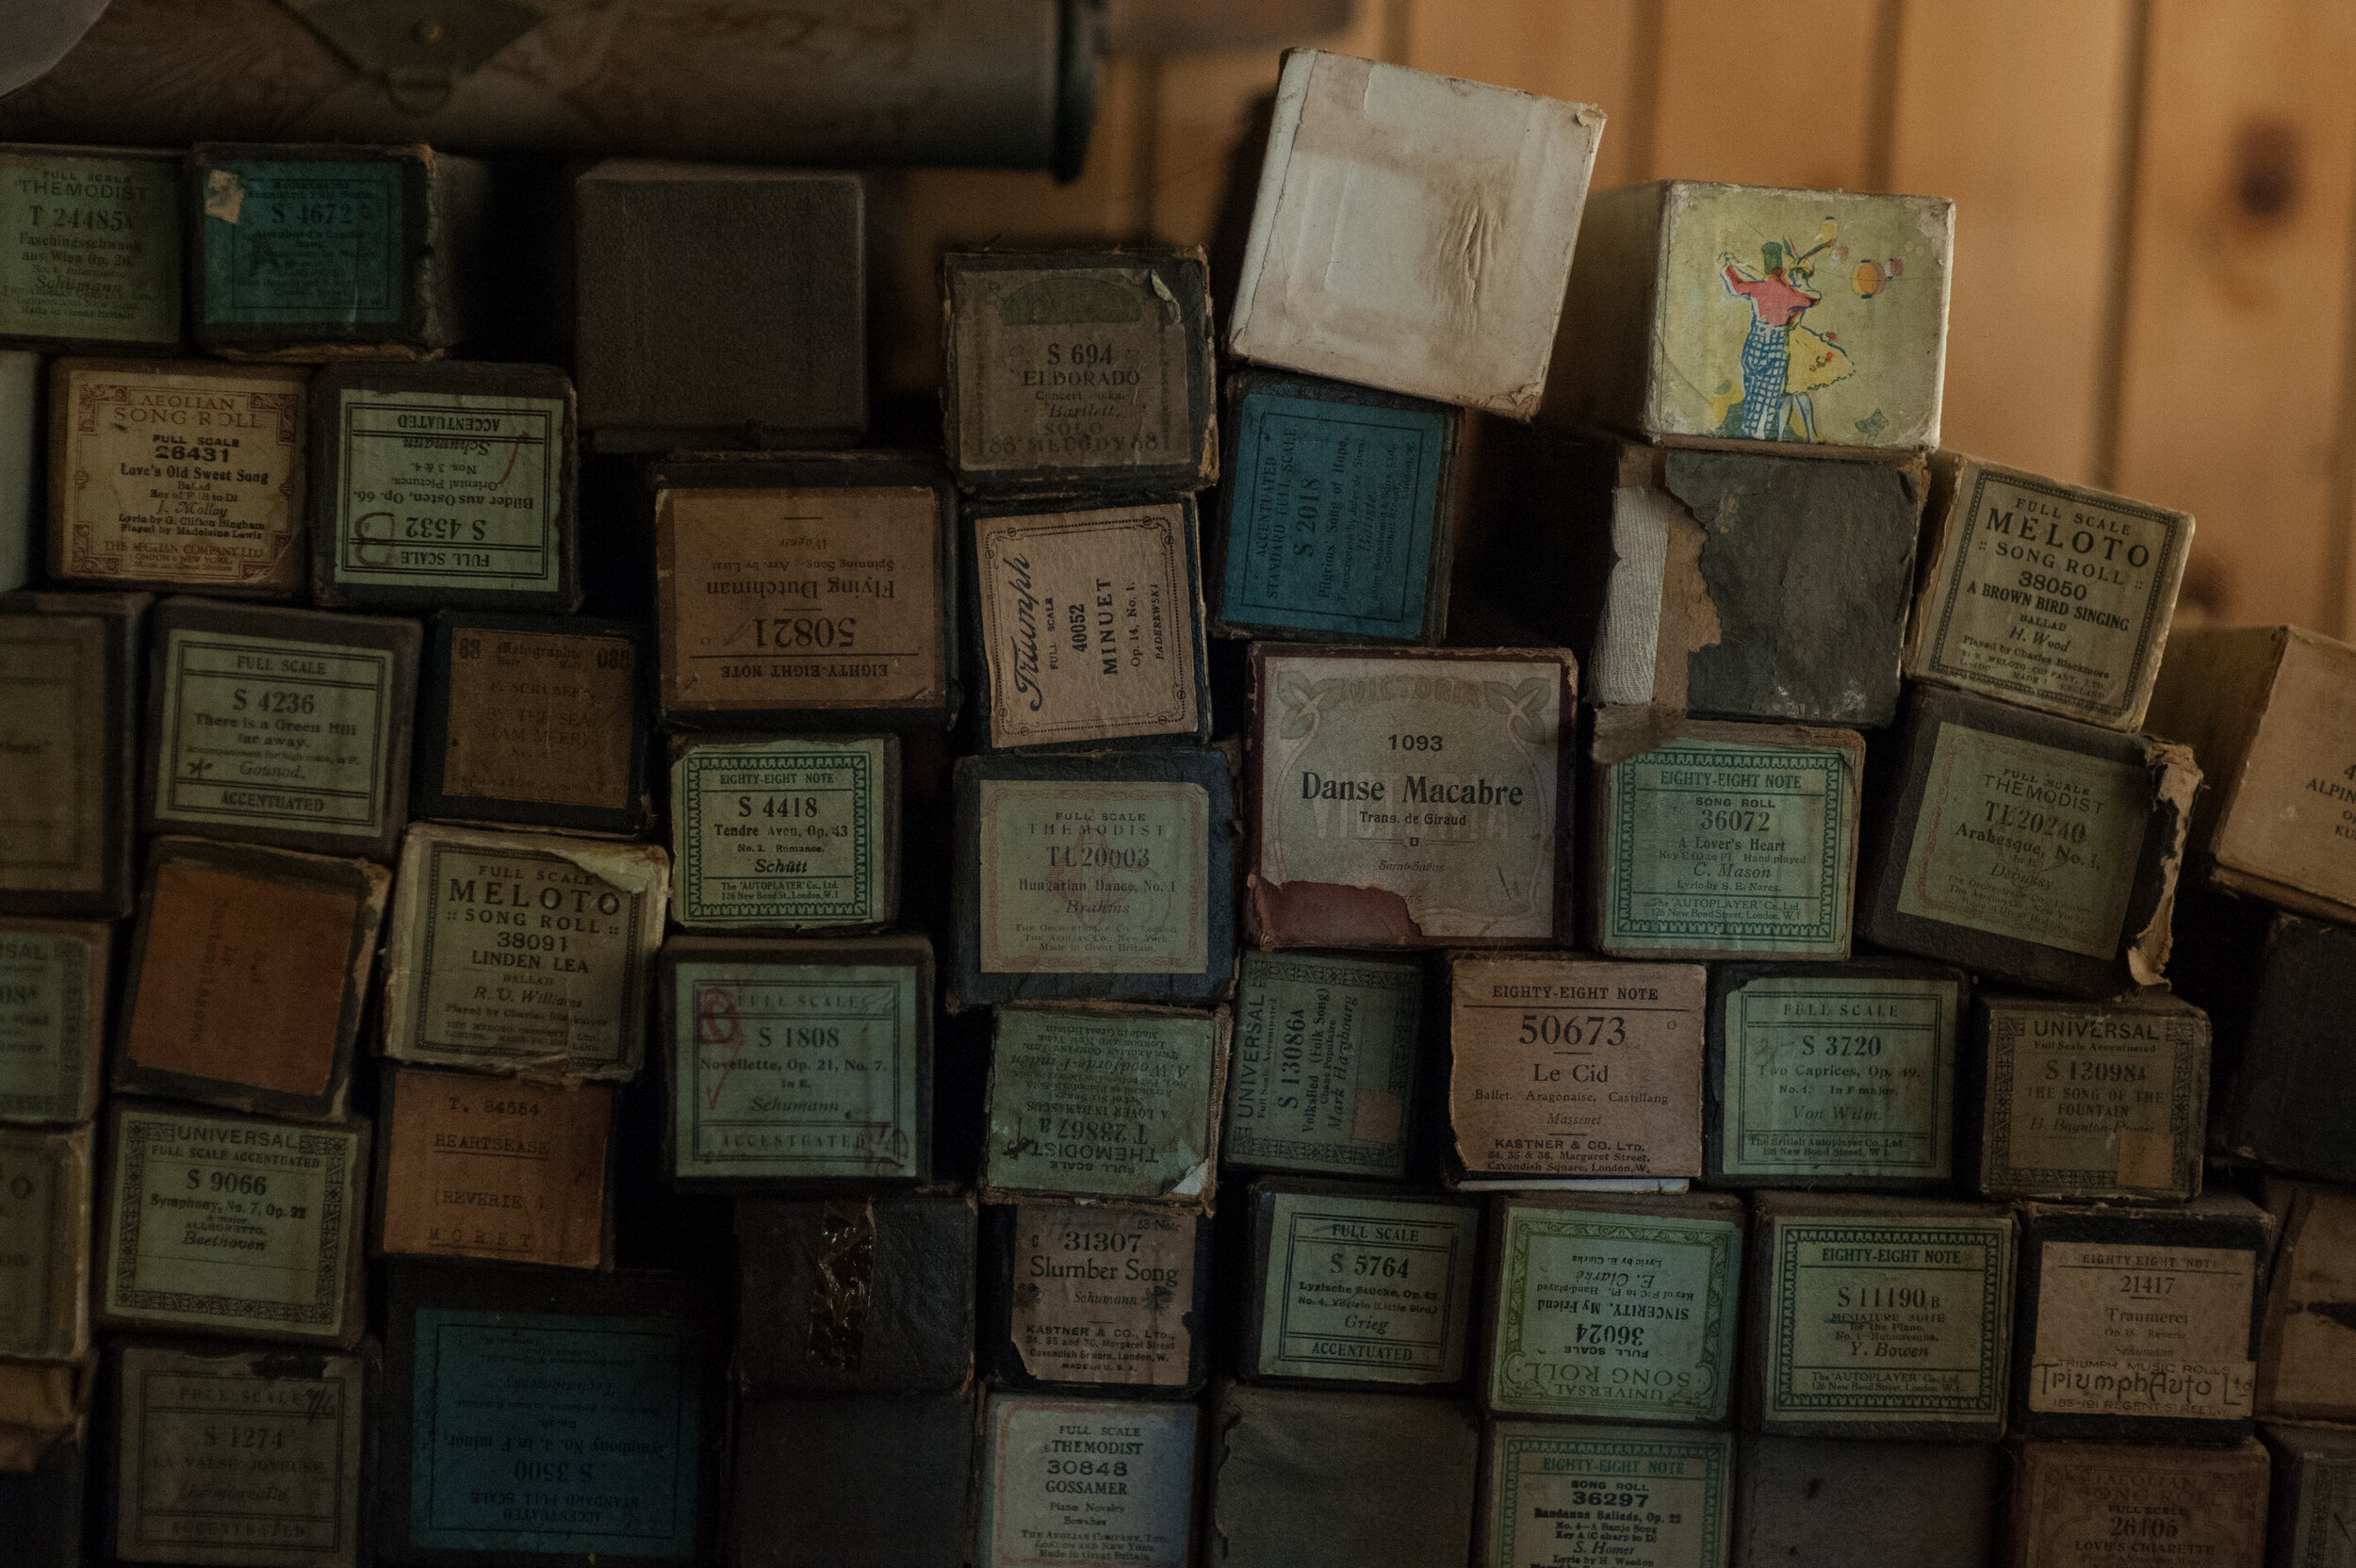

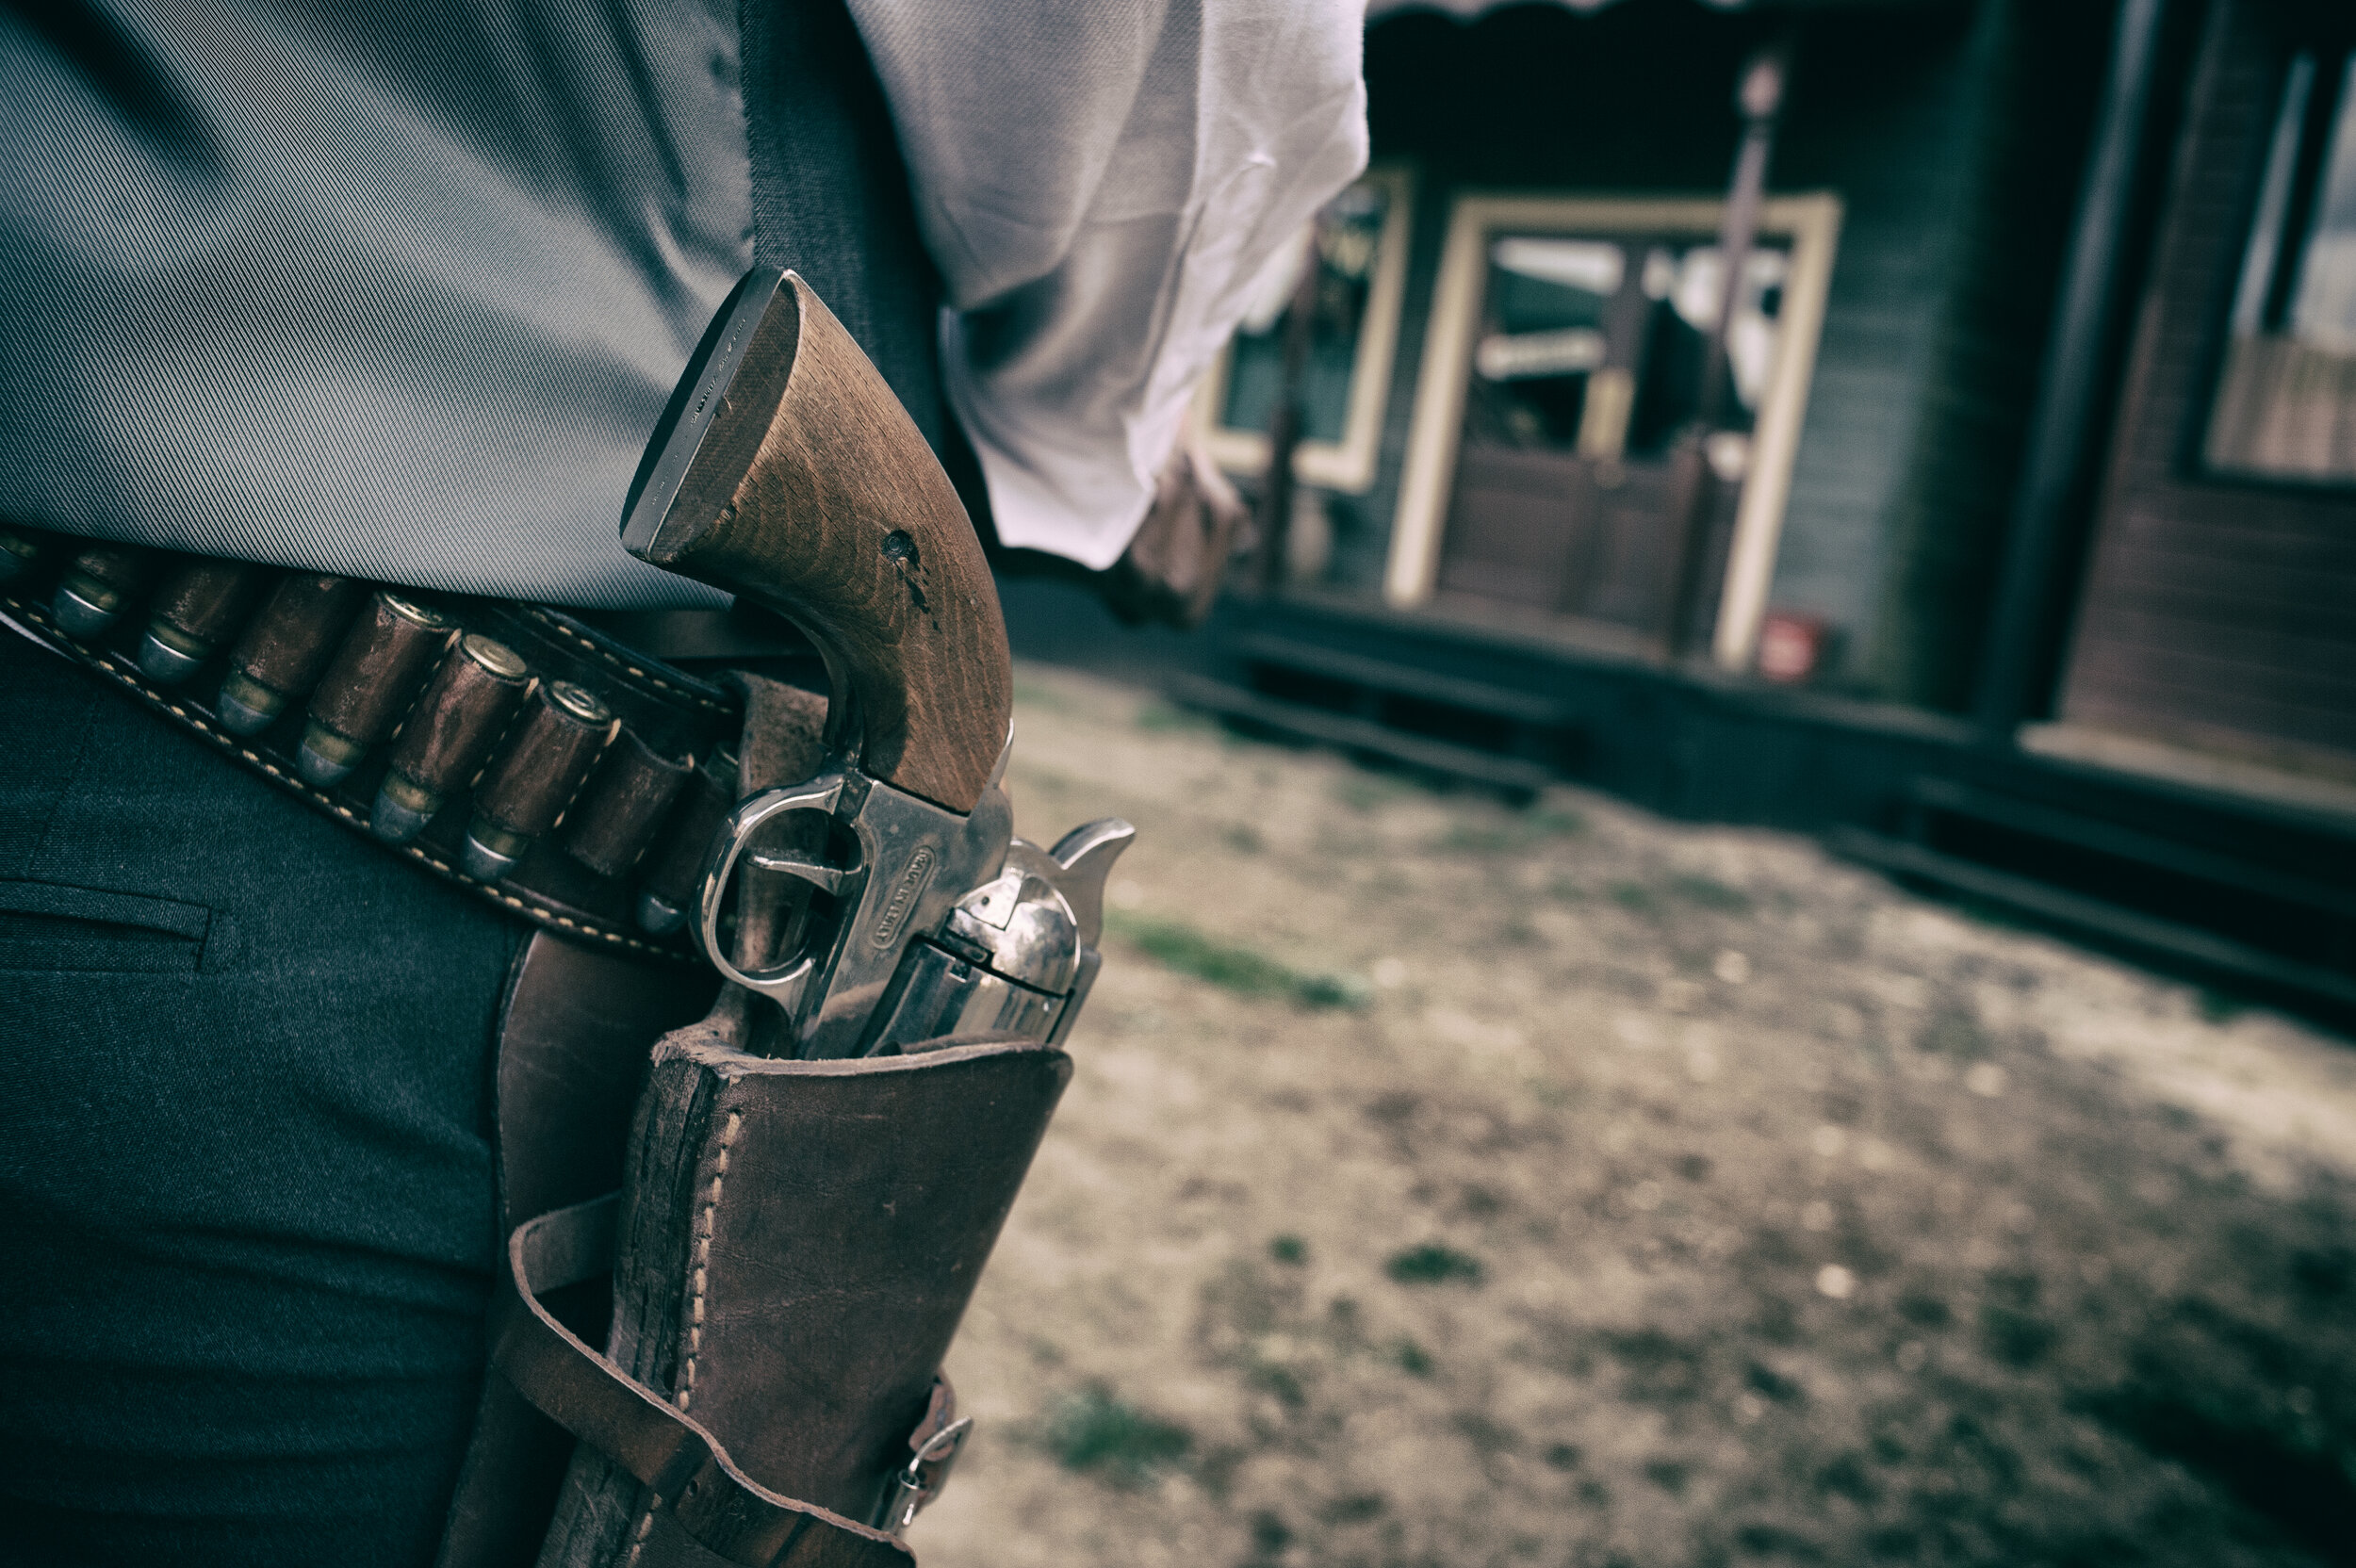
Not one of the above images shows a face: but they all help to tell a story. Images like these are often used for DVD cover artwork or album inside-sleeve artwork. They even get used as backgrounds for text-based social media posts. If the light is low, look around and see what else you can shoot. Look for places the light is good or for subjects that can handle a high ISO. Our perception of noise is a lot less acute when we can’t see an eye in the frame.
Rounding off
I’ve been through stages in my career where I’ve felt held back, either by lack of kit or by the lack of light available to me. Over time I’ve come to realise it’s important not to feel held back by the kit at my disposal or the light available to me in any given moment. There’s always an image to make, even if it isn’t the one I first imagined. It’s up to me as the photographer to find it.